How To Setup an OAuth Client Application For Testing in Ruby on Rails
In a previous post, I described how I implemented an OAuth provider in Ruby on Rails 5. In that post, I promised I’d blog about how to set up an OAuth test client.
This post represents that promise.
![]()
Step 1 – Make Your Rails Application
I use a Rails application template as described in this documentation. This makes it easy to set up the OAuth test client.
Step 2 – Install HTTParty and OAuth2 In Your Gemfile
After making a dummy Rails application, I install 2 gems – httparty and oauth2.
I use the HTTParty library to easily make HTTP requests across the wire for fetching data. This is a capability we’ll need to make our OAuth test client.
I’m installing oauth2 because we’ll use this in a future post to write our own test script.
gem 'oauth2'
gem 'httparty'
Step 3 – Generate a Dumb Controller
Next, we’re going to need a dummy controller to fetch the access token from the OAuth provider.
rails g controller Data --no-helper --no-assets --no-javascript
Step 4 – Create an /oauth/callback route
After making the controller, we’ll alter the routes file as follows.
get '/oauth/callback', to: 'data#create_session'
get '/index', to: 'data#index'
root to: 'data#index'
Step 5 – Set up some ENV variables for localhost and production
Next, we’ll need to load some ENV variables in config/application.rb.
module RailsOauthTestClient
  class Application < Rails::Application
    # Settings in config/environments/* take precedence over those specified here.
    # Application configuration should go into files in config/initializers
    # -- all .rb files in that directory are automatically loaded.
    if Rails.env.development?
      yml_file = 'local_env_for_oauth.yml'
    end
    config.before_configuration do
      env_file = File.join(Rails.root, 'config', yml_file)
      YAML.load(File.open(env_file)).each do |key, value|
        ENV[key.to_s] = value
      end if File.exists?(env_file)
    end
  end
end
Step 6 - Grabbing the OAuth Access Token
To get an access token, we’ll need to build 2 controller methods in our dumb DataController.
class DataController < ApplicationController
  def index
    if session[:current_access_token]
      @me = HTTParty.get "#{ENV['OAUTH_PROVIDER_URL']}/api/v1/users/me.json", { query: { access_token: session[:current_access_token]} }
    else
      redirect_to "#{ENV['OAUTH_PROVIDER_URL']}/oauth/authorize?client_id=#{ENV['OAUTH_TOKEN']}&redirect_uri=#{ENV['OAUTH_REDIRECT_URI']}&response_type=code"
    end
  end

  def create_session
    req_params = "client_id=#{ENV['OAUTH_TOKEN']}&client_secret=#{ENV['OAUTH_SECRET']}&code=#{params[:code]}&grant_type=authorization_code&redirect_uri=#{ENV['OAUTH_REDIRECT_URI']}"
    response = HTTParty.post("#{ENV['OAUTH_PROVIDER_URL']}/oauth/token", body: req_params)
    session[:current_access_token] = response['access_token']
    redirect_to root_path
  end
end
The index method
If we have an access token set in a session, we use that to get access to a protected resource. If not, we ask for an authorization code to get our access token. We’ll display the data grabbed in @me in our index view.
The create_session method
Remember the “/oauth/callback” route we set? This tells our OAuth provider where to redirect your User Agent (i.e., browser) with the authorization code. In this method, we then ask the OAuth provider for the access token with the authorization code.
Step 7 - Displaying the Data from the .me Endpoint
In the DataController index method, I check to see if the access token has been retrieved from the OAuth provider. If it has been retrieved and stored in session[:current_access_token], I display the user’s email. If not, then I have them ask for an access token from the OAuth provider.
%h1 Authorization Page / Display Page
- if session[:current_access_token]
  %p Here's the resource owner (user)
  = @me["email"]
  %p= link_to 'Go back to Main App', "#{ENV['OAUTH_PROVIDER_URL']}"
- else
  = link_to 'Authorize via Your Main App/OAuth Server', new_oauth_token_path
Step 8 - Register the client test application
Now we’re going to register the test application with our OAuth provider on localhost. I have a provider setup at this GitHub repository that you can clone and use out of the box.
Once you clone this repository locally, run rake db:migrate to setup your database. Now, you can run rails server to start up the OAuth provider.
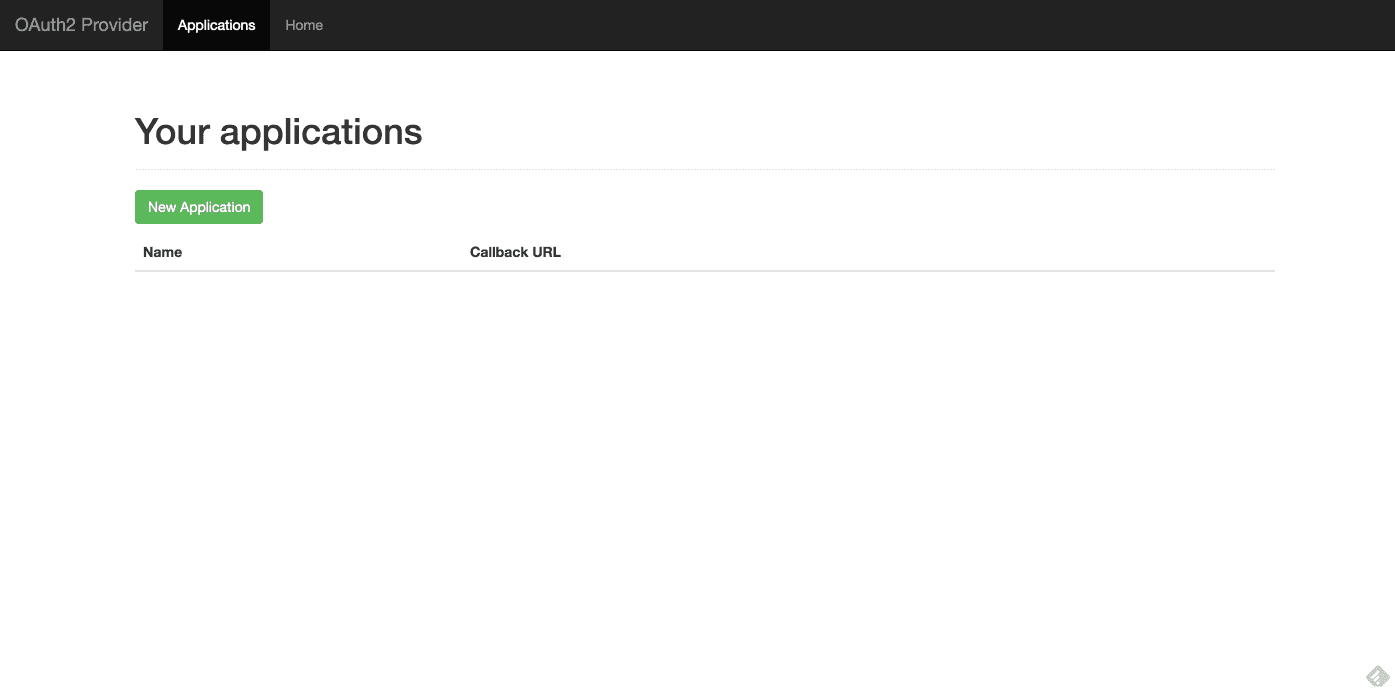
Create a new test application
Now, navigate to http://localhost:3000/oauth/applications and click “New Application”.
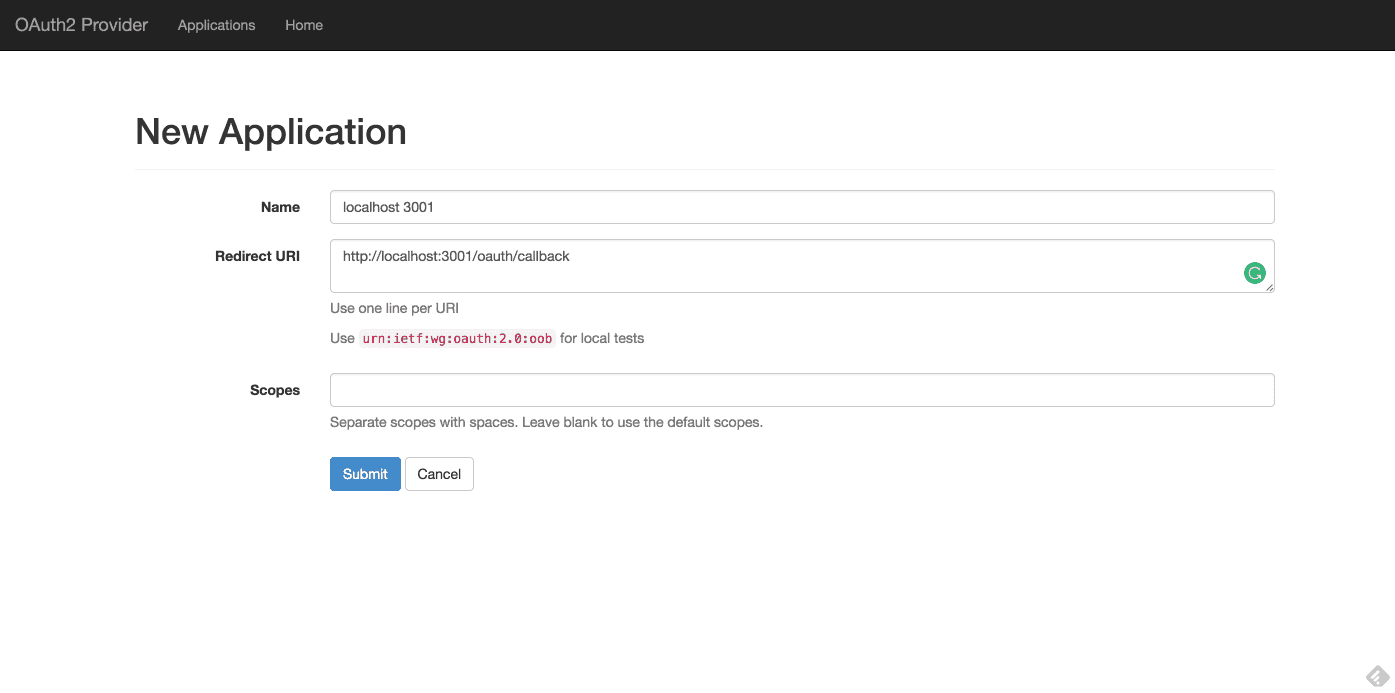
Fill out the application form fields
Fill out the name field with whatever you like. The redirect URI field should be filled out with “http://localhost:3001/oauth/callback”. You can leave the scopes blank for this demonstration.
Change the client secret and ID in the local copy of our OAuth client
I have a test OAuth client at this GitHub repository that you can clone and use out of the box.
Now, in config/local_env_for_oauth.yml, change the OAUTH_TOKEN and OAUTH_SECRET values with the Application Id and Secret values for the application you just registered. You can see my values in the screenshot below.

Step 9 (optional) - Get it working on your machine
Create a user in the local OAuth provider repository you downloaded
The way I have the OAuth provider setup is that you must sign in as an authorized user so you can see the test setup working. You can create a dummy user by running the seeds file with rake db:seed.
Next, navigate to http://localhost:3000/users/sign_in and sign in with johnjohnson@gmail.com with the password of password.
Now if you navigate to http://localhost:3001 in your browser, you’ll see your OAuth provider asking you to give your OAuth client permission to access the protected resource.
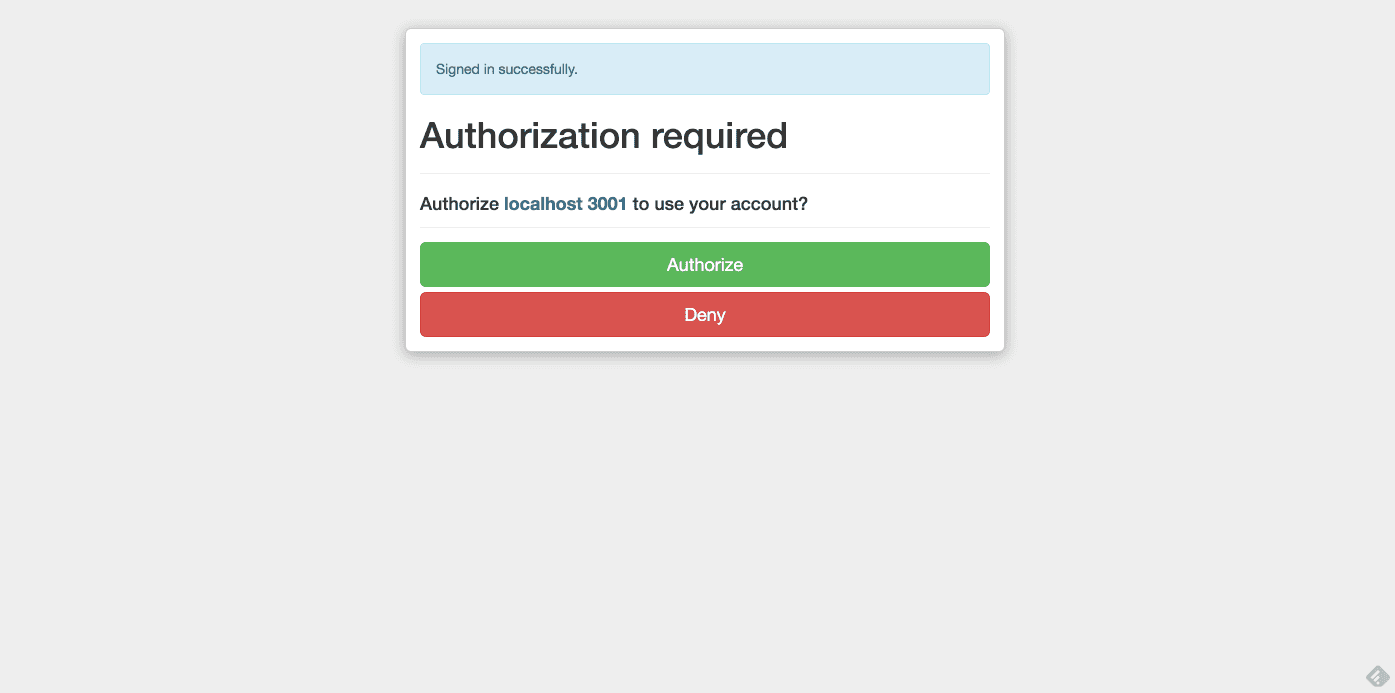
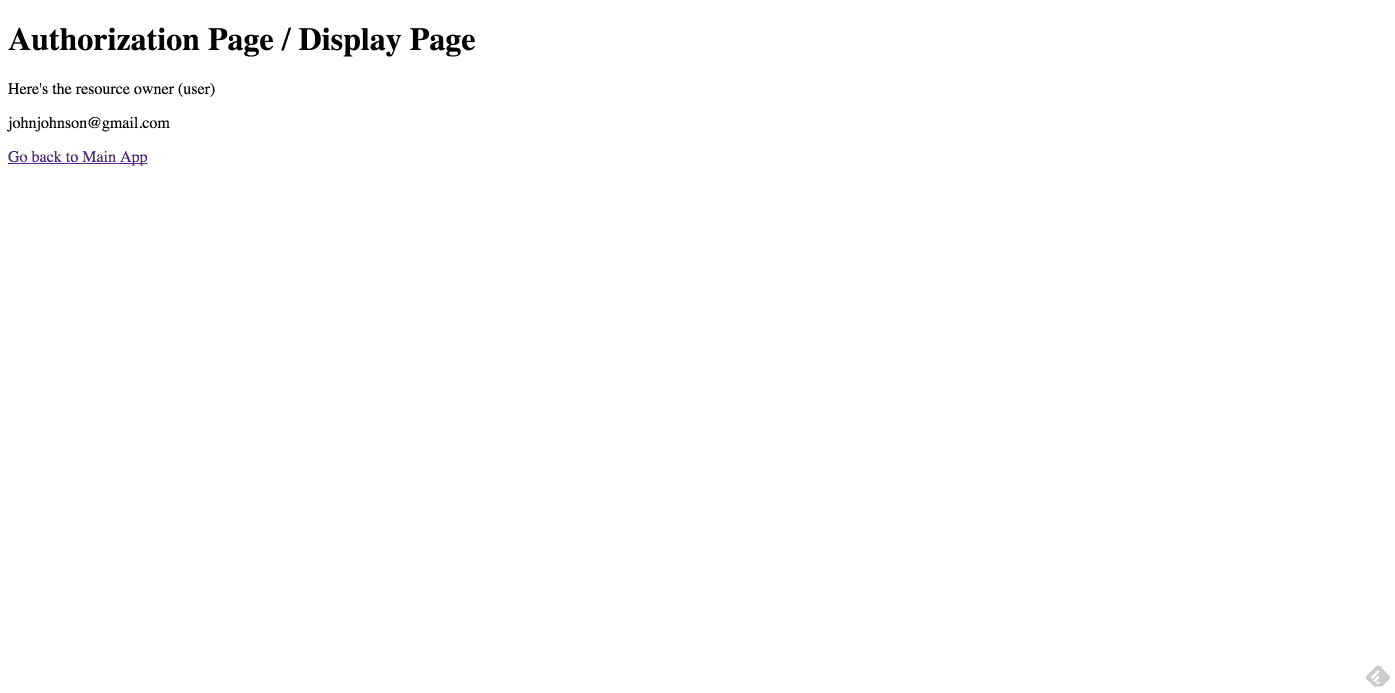
If you click “Authorize”, you should see something like the below in your browser:
Summary
Congratulations! You now know how to setup a basic OAuth provider and OAuth client using the doorkeeper gem in Ruby on Rails. If you want to know more about how OAuth works under the hood, you can read this tutorial post I wrote.